Graphite Portraits
Techniques and Tools for Getting Started
Drawing realistic facial expressions successfully calls for three things:
a thorough understanding of the muscles and bones of the face, close observation not only of your own face in a mirror, but of others as they talk and move naturally from one expression to another, and finally, practice.
Begin by touching your own face without looking at it. Smile, frown, and make an angry face.
From the way the muscles move, you might be surprised that the cheeks are made up of four straight, vertical muscles that are connected to the circular muscles that surround the eyes as well as the upper muscle of the lip.
Given this interconnectedness of the facial muscles, it isn’t surprising that involvement of one muscle group usually entails a second or third muscle as well, so that a smile involves not only the lips, but the cheeks, chin, eyes, and eyebrows.
As you draw expressions, you may find it helpful to have a mirror on hand in which you can see your own face making the expression.
However, this isn’t always the best solution, since it requires holding yourself very still as you draw, and looking back and forth from the paper to the mirror can be difficult.
You might also, therefore, find it useful to construct an expression wheel. Cut out circles of paper in three diminishing sizes.
The smallest circle will contain several pairs of eyes drawn to show different emotions, the center circle will be of noses, and the largest circle will be of mouths.
Draw as many different emotions as you have room for, making sure to keep the features a standard size so that they can be interchanged to show several different expressions. Try to make the differences between the features very apparent, such as intense hatred, surprise,
happiness, boredom and so on. Avoid drawing several versions of “happy” eyes; the purpose of the wheel is to see at an instant what a face with, for example, angry eyes, flared nostrils, and a smiling face would look like.
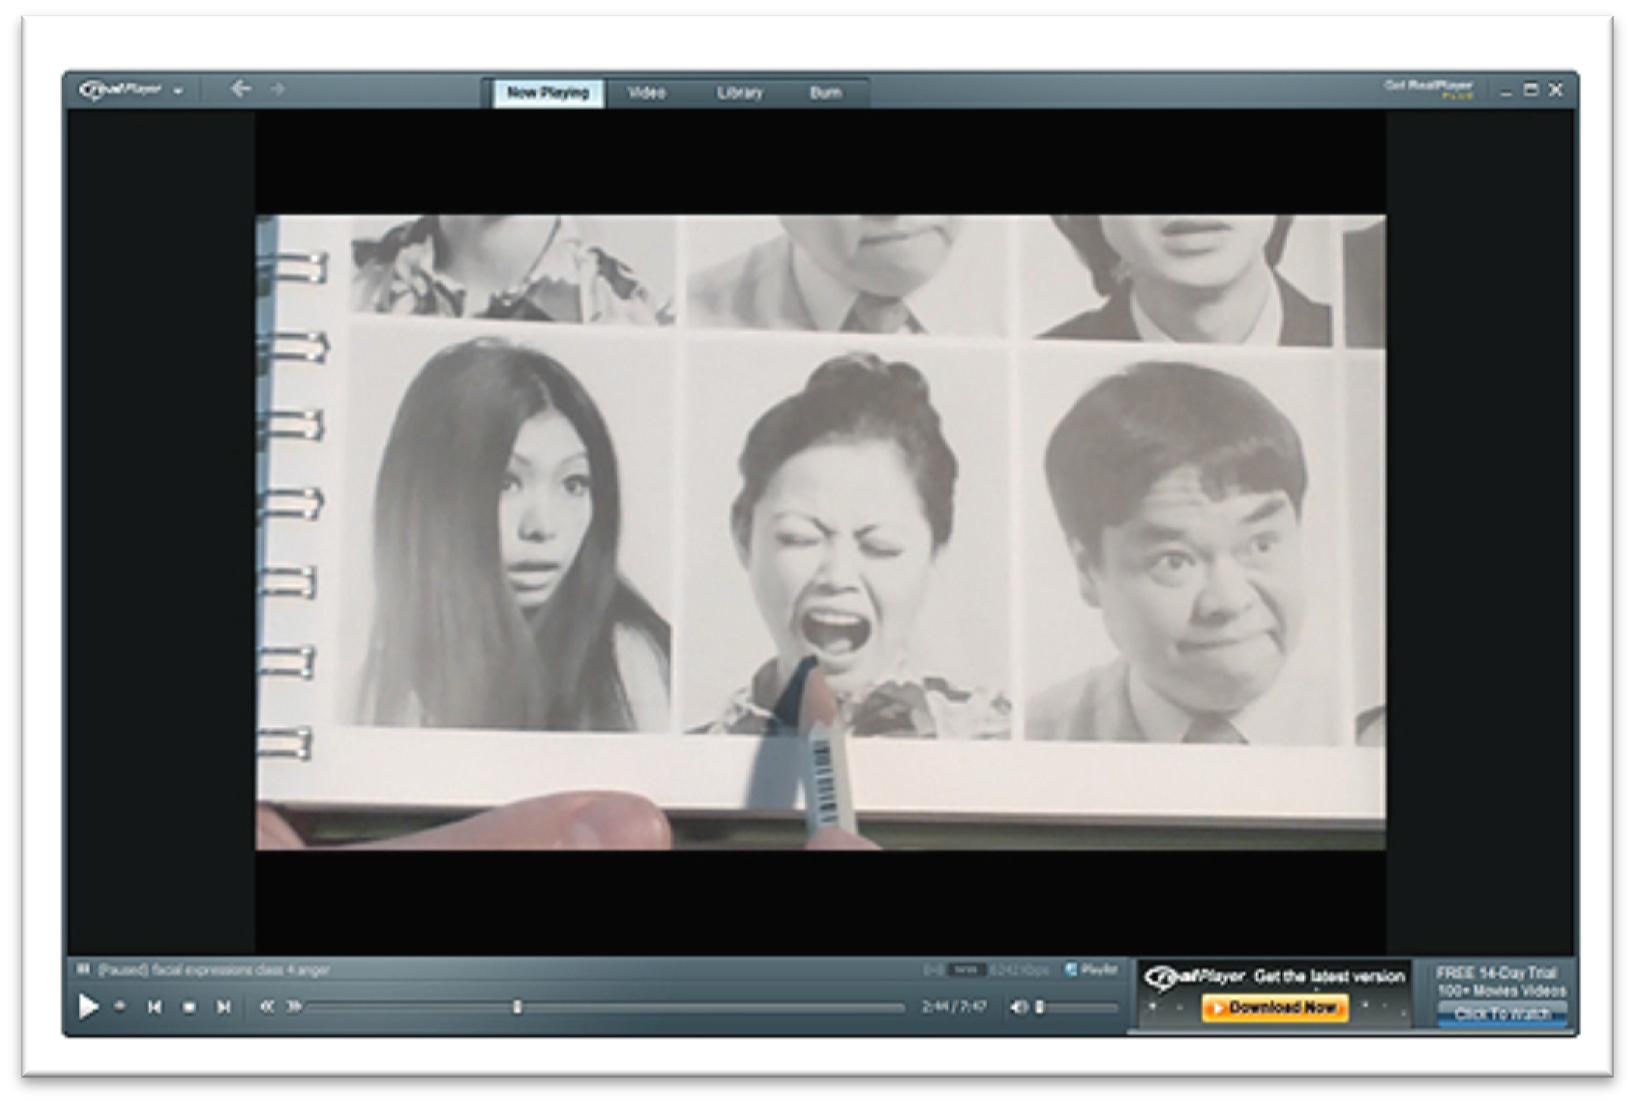
Reference material is necessary in whatever form is available, but the best method for drawing realistic expressions is to watch people’s faces closely and to keep a sketchbook of your practice and findings.
Closely observe the shapes and lines of the features as they move from one emotion to another, but also watch what story the body language tells.
Whenever possible, draw people in a way that gives them a sense of movement. We are almost continually in motion, even as we stand and speak.
Examine the how the head tilts when people are surprised, offended, laughing, or crying. Take note of how people hold their hands, how they shift their weight, and position their limbs.
To isolate the most important features of any particular expression, make a quick cartoon of the emotion you’re trying to draw before you begin a finished drawing of each expression.
You should be able to see in seconds if the mood you want is being conveyed, and because the sketch is fast, you can experiment to find the best approach without investing a lot of time.

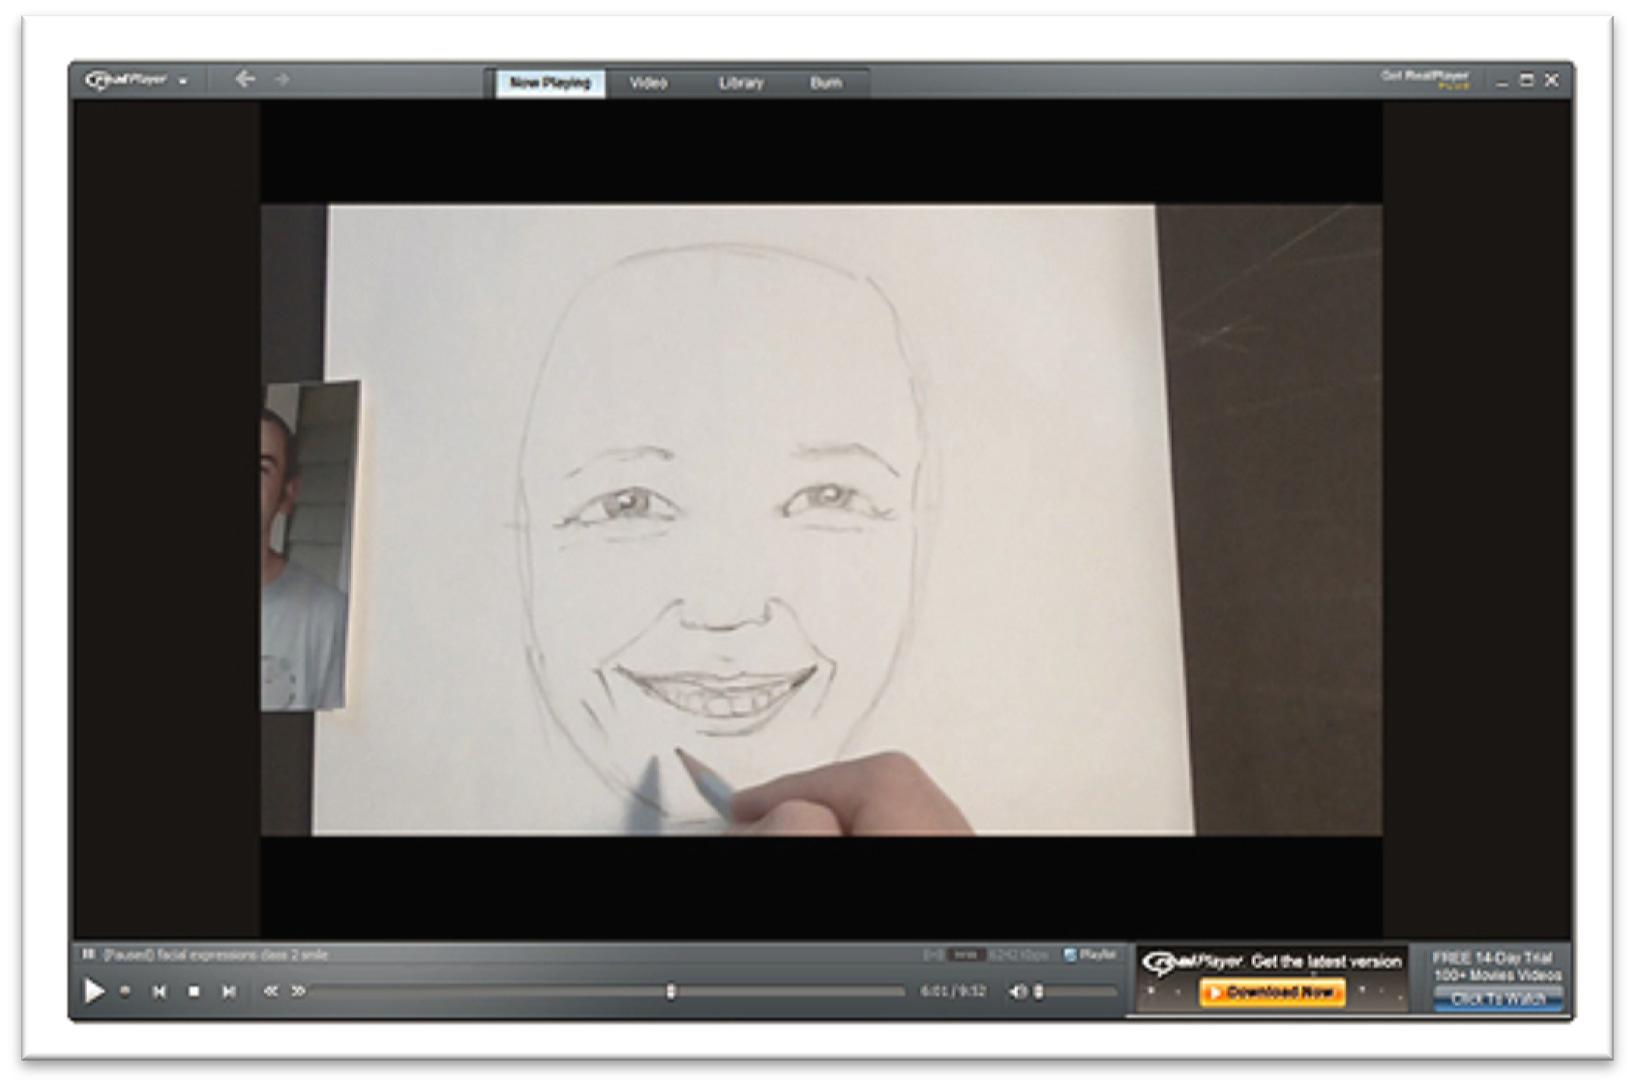
The Happy Expression
A happy expression is more complex than simply drawing two eyes, a nose, and a turned-up mouth.
Every person has a different smile, and every smile can show varying degrees and sorts of happiness.
Begin by drawing a face at rest. This will give you a refresher in the proportions of the face, which can be drawn in measurements of the eye length or by dividing the face in half vertically and horizontally.
When a person is facing forward and the head is straight, the irises lie on the center of the horizontal line, and can be sketched in as two circles.
If you divide the bottom vertical line into five equal segments, the bottom of the nose is on the second mark down, and the center of the mouth is the third line down.
The nostrils usually line up with the inside corners of the eyes, and the corners of the mouth in a relaxed position line up with the middle of the eyes.
The eyes are half and eye length wide, and are one eye width apart.
To draw a happy expression, begin by cartooning a smiling face to get a clear idea of how to shape the eyebrows, eyes, nose, and mouth. In a smile, the eyebrows are either relaxed or slightly raised.
The bottom line of the eyes is affected by the cheeks pushing up against them, and raise up into a half moon shape with pouches of skin visible underneath.
There are often wrinkles at the corners of the eyes to help express that the skin is creased as the eyes crinkle shut, and the mouth is either open or closed, but usually with the corners lifting up.
Even if the corners don’t lift, the muscles in the cheeks will show subtle hints of the cheeks being pulled into a smile. You might also see dimples in the cheeks and wrinkle lines in the chin.
The lines on either side of the mouth push outward and curve around either side of the lips. If the mouth is open, you’ll need to draw teeth as well. Make sure not to over-draw the teeth, or they will appear to be artificial.
In an authentic smile, you will often see the person tilt his or her head back, or angle it towards the person or object being smiled at.
Never forget the importance of body language in drawing a life-like and convincing expression.
Unless a person is sleeping or trying to keep himself still, there is always movement in the body and head, and this body language is crucial to communicating expression.
It can either support or contradict what you see on the face, but either way, it should be a top consideration as you study how to draw expressive people.
From the side view, the smile alters the profile dramatically. The cheeks bulge up and out to accommodate the shortened cheek muscles.
The mouth lifts up, and the eyes squint down. The eyebrows may come down a little bit as everything is compressing together as well.
The change in the cheek makes it apparent that a person is smiling even from a back view when the face is almost completely hidden, so don’t forget that the outer line of the face is affected by the smile as well as the inner lines of the features.
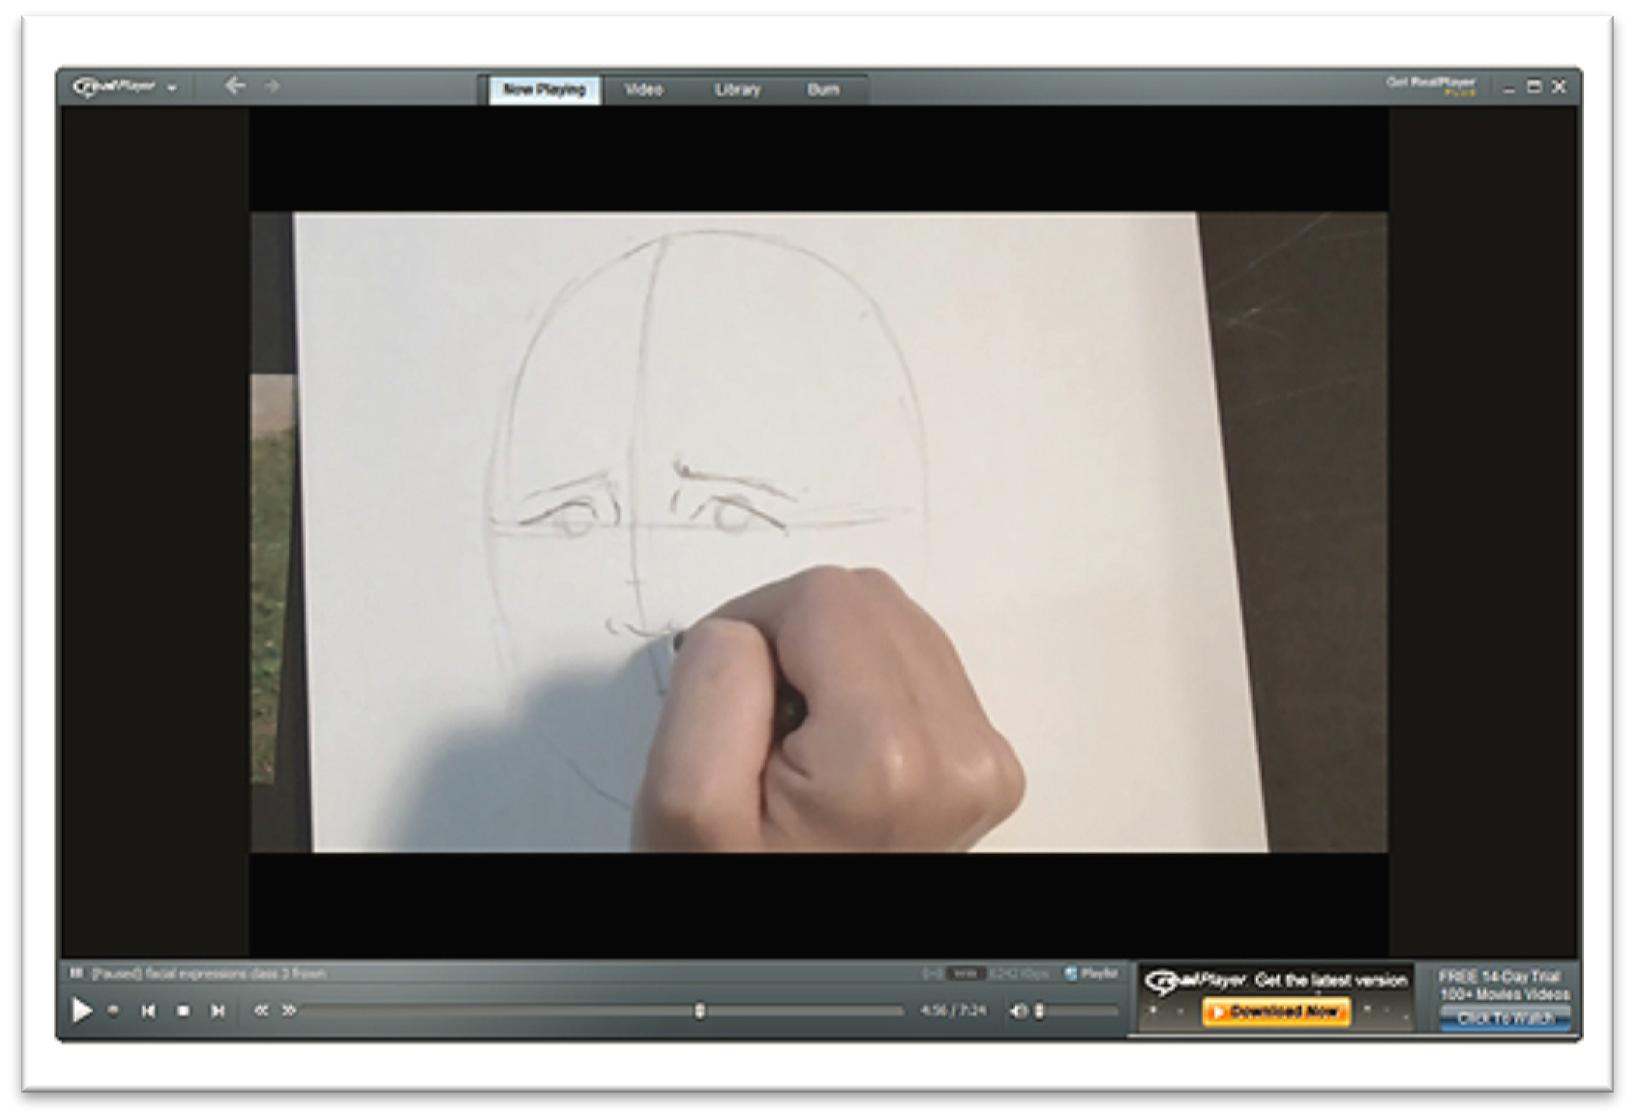
The Sad Expression
In a sad face, begin with a cartoon again.
The upper lines of the eyes angle down from the inside corner like a triangle pointing towards the ears, and the eyebrows scoop down at the middle to nearly meet the center of the eyes.
The nose doesn’t change much, but the shape of the mouth will dramatically alter the degree of sadness being conveyed.
If the corners are slightly down, the face is disappointed. When the corners plunge down more, the expression turns to anguish.
An open mouth with down turned corners looks like angry shouting or crying, and coupled with lines around the nose and between the eyebrows, you see an even clearer expression of sad anger.
Sadness and anger are closely related, and one can easily become the other unintentionally if you don’t know how the shapes of the individual features strengthen one emotion or the other.
This is another way in which having an expression wheel ready to refer to will be useful.
Remember, even if you’re cartooning and aren’t trying to make realistic drawings, you need to know how to get across the emotion on your face clearly so that you can emphasize them for cartoons.
To draw a sad face, begin with the head shape and add vertical and horizontal guidelines.
Angling the top line of the eyes down to the outside of the face immediately makes the face look sad; the sad eyebrows wavering and dipping down help the strengthen the sadness.
Lines around the nose can increase the feeling of anger. Expressions are very subtle, and the difference between them is equally subtle.
If you’re not certain how changing the eye shape or eyebrow position (for example) will alter the expression, sketch a quick cartoon on scratch paper and experiment until the face reads the way you want it to.
The mouth is turned down, with the lower lip sucked in slightly. Lines on the chin can help show that that muscle is flexing, adding a sense of defiance or poutiness to the face.
The lines beside the nose should be straight unless the mouth is open, in which case, the curve of the line should be kept low to keep it from looking like a smile.
When the features are placed, erase the guidelines and darken the eyes. The pupils and eyelashes are very dark, with a white spot reserved for the highlight. The iris has dark lines, like spokes of a wheel, in the colored area.
The eyebrows being drawn down closer to the eyes may cover the upper eyelid.
Darken the inner nostrils and the corners of the mouth, especially if the mouth is open.
In the hair, make enough directional strokes to show how the hair is styled, but you don’t need to spend too much time on the hair for this class; focus more on getting the expression to read the way you want it to than doing the finishing work on the portrait.
The Angry Expression
Anger is very closely related to sadness.
Begin with the cartoon face and you’ll see that the eyes are slanted similarly to sadness, but angry eyes slant in a line that follows the downward angle of the eyebrows as they plunge downward.
Angry eyes look like a triangle pointing in towards the nose.
Around the nose, you often see a snarl in an angry position.
The nostrils flare, and the lines between the nose and mouth cut down straight. The mouth is arched down, with the corners either straight or plunging down steeply.
The key elements of an expression are consistent across genders, ethnicities, and ages. The muscles of the face are the muscles of the face, so unless you’re drawing someone with a muscular abnormality, you’ll be able to see the same elements of each expression, including sadness, for every person.
To begin the drawing, sketch in the head shape, give guidelines for the irises, and sketch on the main features: eyes, eyebrows, nose and mouth.
To make the nostrils look like they’re flaring, extend the nostril lines up and out, darken the outer lines of the nostril, and widen the dark area of the inner nostrils.
The lines that connect the nose and mouth are straight and hard in the angry expression.
Sometimes there are additional puckers and lines in the forehead, between the eyebrows, and beside the nose to show additional anger.
When placing the ears, remember that they should line up with the eyes and the bottom of the nose. Sketch the hairlines, erase guidelines, and clean up the lines of the features.
Depending on how much of the whites of the eyes you can see, the eyes will look more or less open, so if you don’t want squinting eyes, either re-shape the outside or make the iris small to increase the white area.
Remember the importance of references in expression drawing; if you can’t find a convincing photo, use a mirror and make the face yourself.
Because the main elements of expressions are universal, you should be able to more or less transfer the changes of your face to any face.
For instance, your nose might not look like the nose that you’re drawing, but if your nostrils raise or contract when you make an angry face, you can apply that same movement to the portrait that you’re drawing without losing that persons’ individual nose characteristics.
When the features are sketched in, erase the guidelines and refine as needed, then finish the drawing by adding tone to the darkest areas.
The pupils are very black, the irises have some tone as well, and some dark spokes in the iris will add realism.
The nostrils, corners of the mouth, eyelashes, eyebrows and hair should be darkened as well, but remember not to over-work the drawing.
Keep the lines clean and simple, without too much fussy shading for this class.
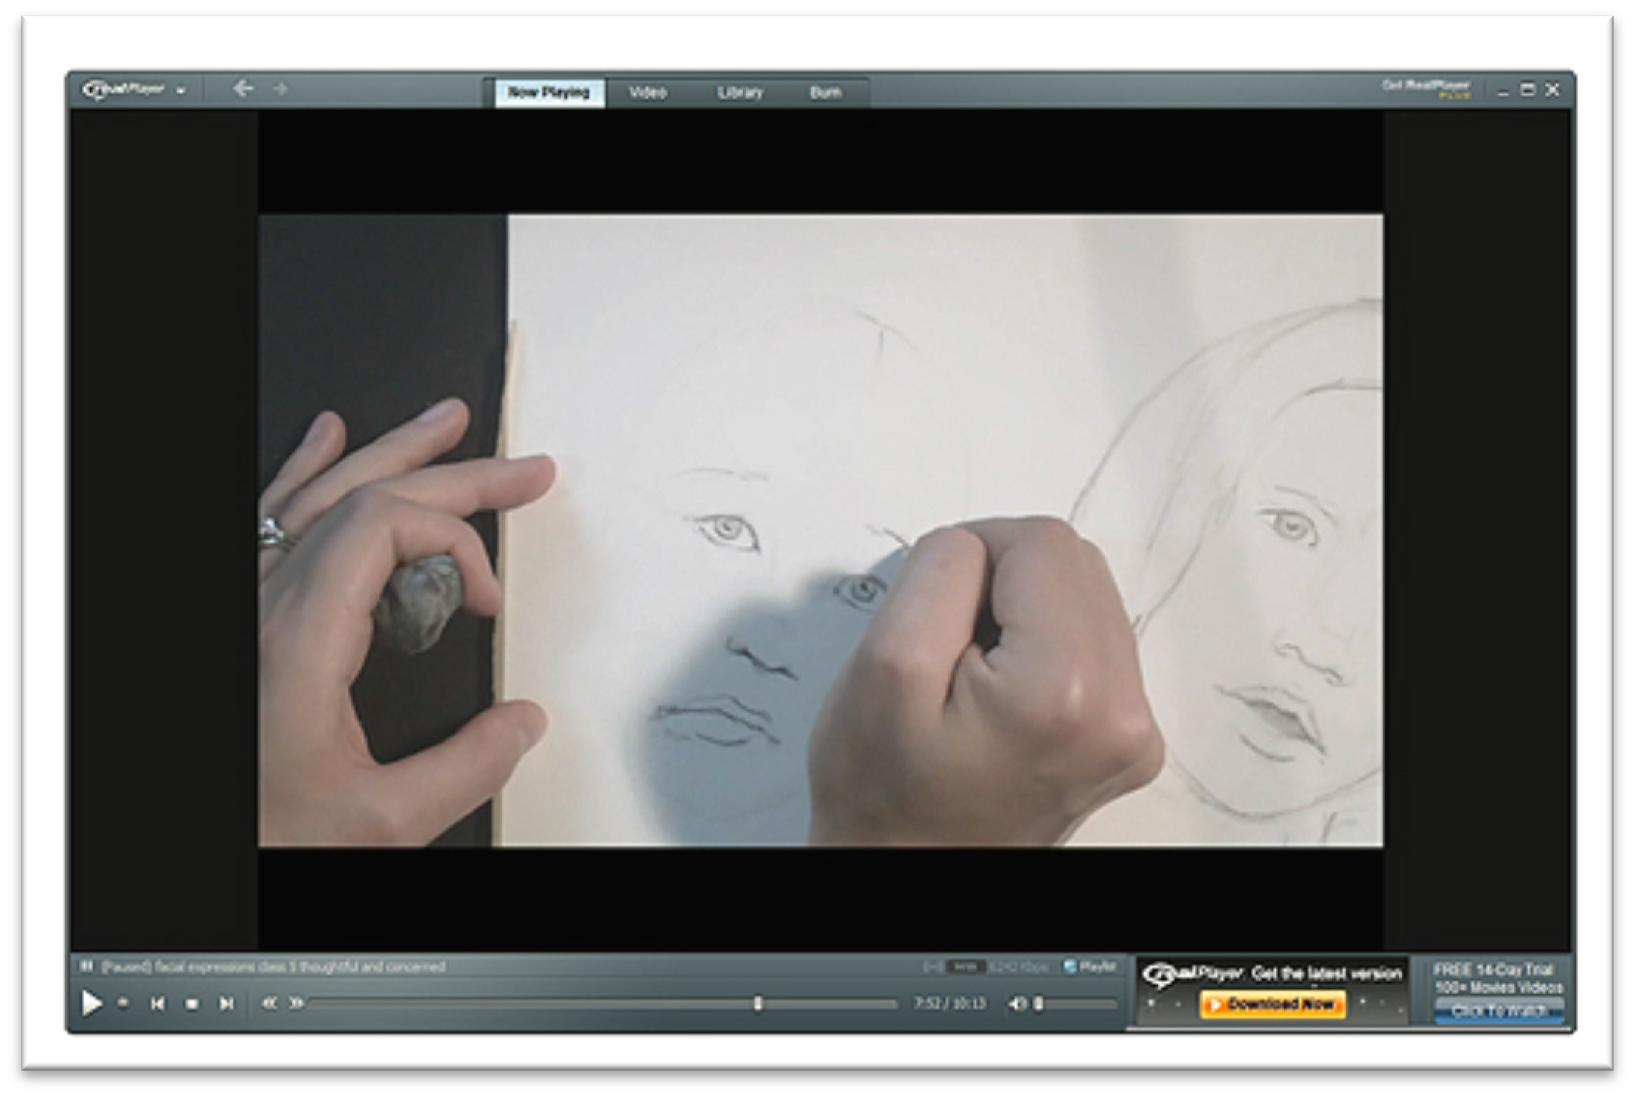
The Thoughtful And The Concerned Expressions
This class will cover the thoughtful and the concerned expression together because they’re so closely related.
In the thoughtful expression, the head is tilted to the side and the eyes look up.
The eyebrows are lifted, and the mouth frowns or half-frowns in a puzzled position.
In the concerned expression the head is tilted in just the same way and the mouth can be the same as well, but the eyes look straight at the person being empathized with.
Cartoons of both expressions highlight the similarities and differences between the two. The head is tilted in both cases.
The eyes look up and to the right (in the visual memory recall position) in the thoughtful expression.
To show that the eyes are looking up, make the iris touch the top of the eye and draw whites showing around the bottom and sides of the iris.
The eyebrows are neutral or slightly raised, and depending on how difficult you want to make it see to recall the thought, the mouth may be puzzled, or frowning widely.
The conciliatory, concerned face shouldn’t be happy, but the unhappiness can be either subtle or marked.
The head tilt is very important to both of these expressions. The eyes should be looking straight at the viewer and there may be some signs of worry in the forehead.
Make a worried face yourself, and then make an angry face. The only real difference is where the eyebrows come together on the face. In anger, the meeting point is low, close to the eyes. In worry, the meeting point is higher.
When drawing the finished portraits, sketch the head at a definite angle, then place the vertical guideline first to keep the face guides consistent with the outer shape of the head.
Place the eyes, making them appear worried or in recall position right from the beginning by either rounding the top of the eye or angling it down in the sad shape.
When you place the irises for the thoughtful position, make sure that the eyes are pointed in the same direction; both irises should be markedly positioned to one side of the eye, or it will look like the person is rolling his or her eyes up.
In the concerned expression, look for the subtle lines that can change an expression. There may be light wrinkle lines between the eyes to show that the eyebrows are puckered just slightly, for instance.
Darken those same lines too much, and the concern turns to anger. As the eyebrows are lifted as in the thoughtful expression, you may want to lift one eyebrow slightly more than the other, or add a wave in the eyebrow to emphasize the confusion.
When the head is tilted, make sure that the shoulders are straight in alignment with the paper, or it will simply look as though you drew the portrait at an angle.
The neck should arch to the side and be longer on one side than the other. The short side will have wrinkles in the skin where the neck bends.
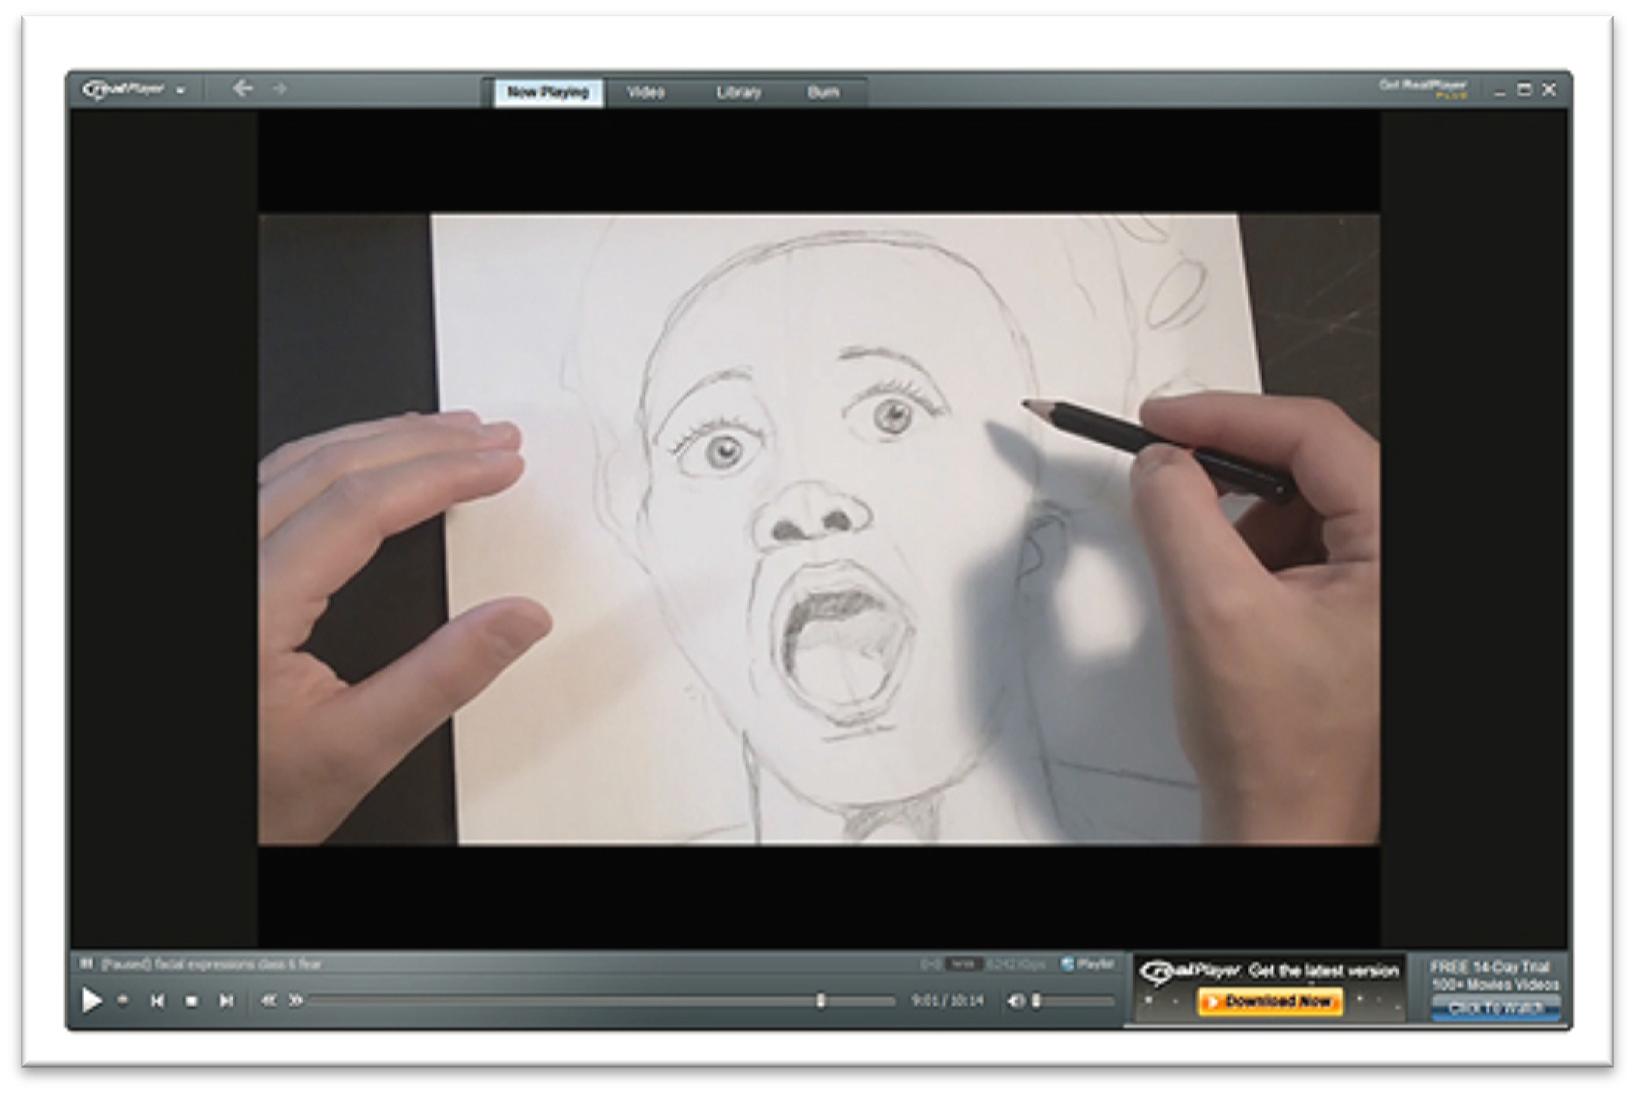
The Scared Expression
When you draw fear, begin with a cartoon for reference, trying to visualize the expression as you draw.
It will help to make the expression yourself as you work. Fear entails eyes that are wide open and raised eyebrows.
The mouth may or may not be open depending on how terrified you are trying to make the face the look.
If it’s more of a startle, the mouth may be closed; terror or shock may mean the mouth opens, dropping the jaw in a scream.
Place the features on the guidelines, not forgetting that there needs to be white around the top of the eyes. Experiment with the eyebrows in two positions to see how the position on the face and the shape affects the fear.
The mouth determines whether the startled eyes are fearful or happy. If the lines beside the nose are straight, the muscles aren’t being pulled even slightly into a smile and the face looks fearful. If the corners of the mouth are pulled down, that fear is even more marked.
To draw a real person being scared, get reference material and compare the elements of the face to the cartoon. You should see the same wide-open eyes, arched eyebrows and open mouth.
You might also see that the person who is scared pulls back, tilts the head, and may even gasp.
If the person is gasping, there will be a dark shadow in the pit of the neck, and the tendons of the neck will stand out.
When you sketch the shape of the head, remember that when the jaw drops, the guidelines for the eyes are affected.
The eyes aren’t shifting down, but they’re no longer in the center of the skull measuring from top to bottom of the jaw, since the jaw is now lower. Keep that in mind and make the adjustment accordingly.
You should still be able to use the proportions of the face to place the features, however. The eyes are an eye’s length apart, and are about half an eye length wide.
Sketch the features in carefully, paying attention to the angle of the head as you work. The nose may be flared, in which case the nostrils will extend wider than the corners of the eyes.
The mouth, stretched open in a scream, looks a bit like a stop sign with a fairly flat top and bottom lip, and sides that move out and then back in. You should also be able to see the tongue and the teeth.
The ears help to show how the head is tilted, so give yourself a guideline for the top and bottom and sketch the shape in around those parameters.
Sketch in the hair, neck and shoulders. Don’t forget that deep pit in the throat and some light lines to indicate tendons.
When the features are sketched in, erase the guidelines and re-shape if necessary, then begin adding the shading in the darkest parts of the face, such as the pupils (don’t forget to avoid the highlight to keep it white), some lighter tone in the irises, dark tone in the nostrils, and dark tone in the open mouth and throat.
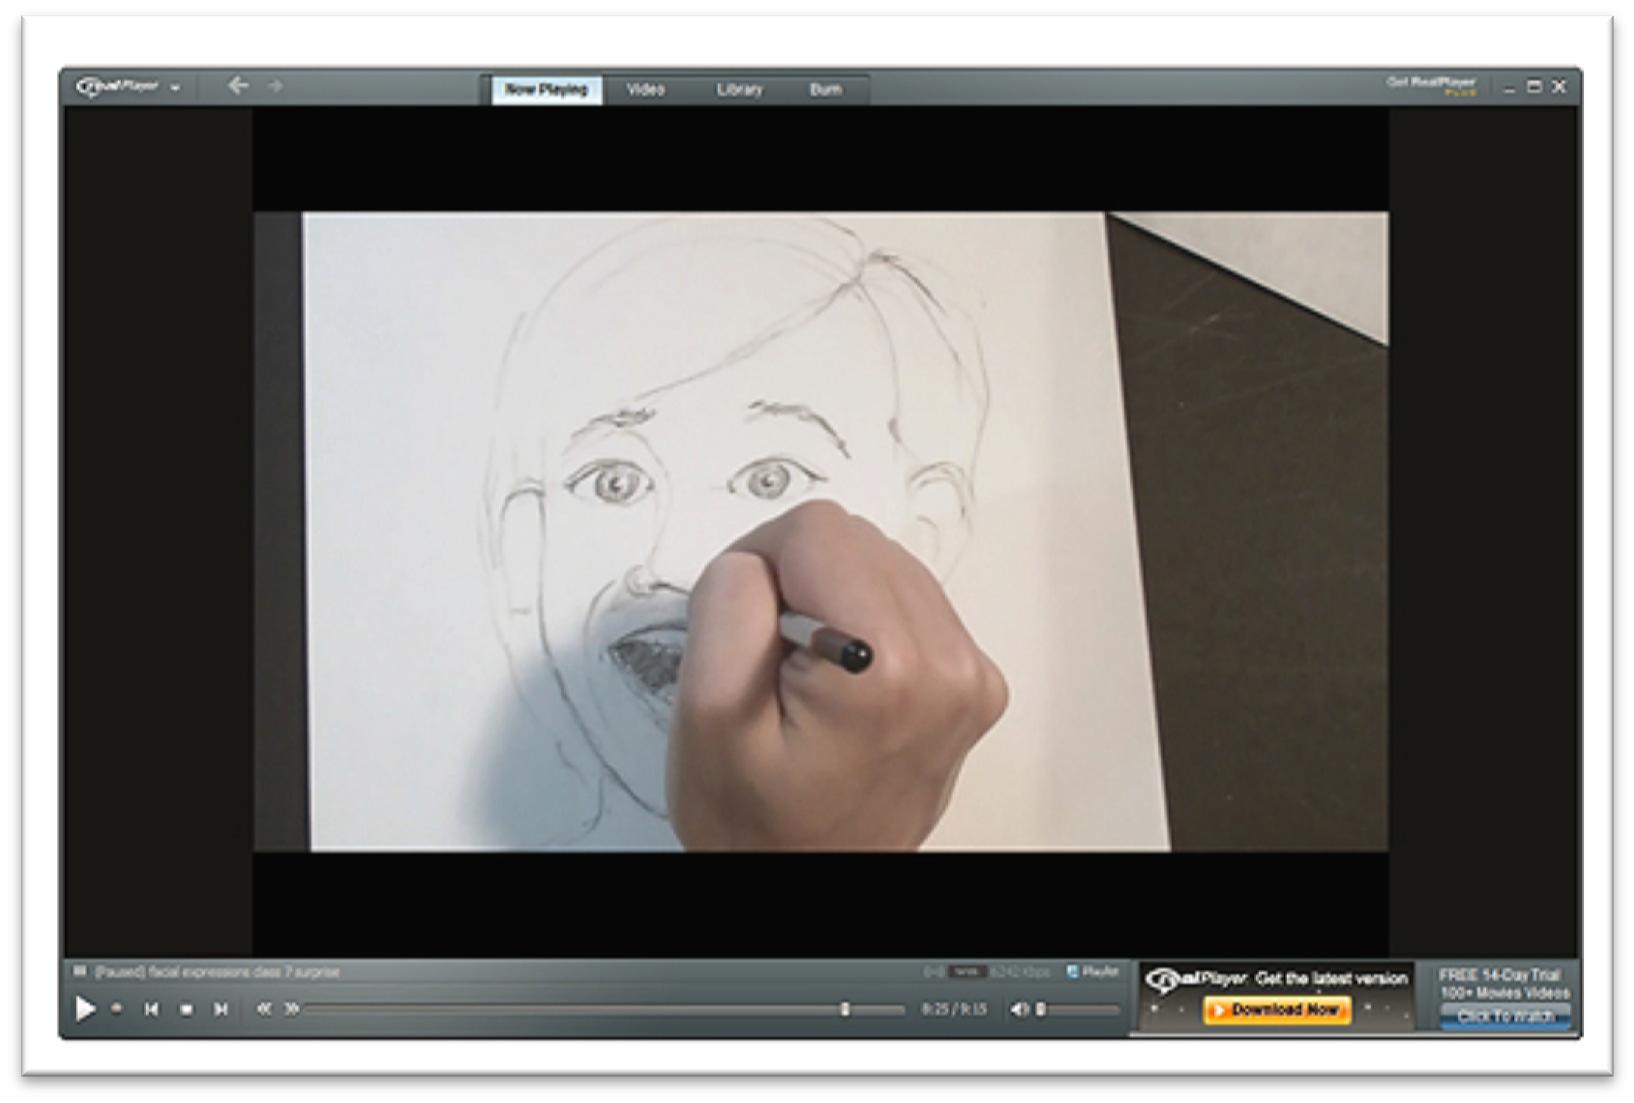
The Surprised Expression
Surprise is close to fear, because fear is one variation of it.
Fear is simply unwanted surprise and as such requires an unhappy or angry mouth.
Surprise without negative elements has very similar eyes and eyebrows as fear, but the mouth will show happiness.
Smiling mouths are more complex than
they seem at first. Cartoons of happy, open mouths show wide, half-moon shapes, but that isn’t realistic.
Smiles don’t always point up. The corners may be straight out, or they may even point down.
The smile is expressed not by the corners of the mouth, but by muscle involvement in the cheeks.
Other than the change to the mouth, the rest of the features in surprise are going to be very similar to fear; eyebrows raised and arched, and eyes wide open with white showing around the eye.
The lines leading from the nose to the mouth are prominent, but in surprise they should curve out to accommodate a happy mouth.
The head should tilt either back or forward, depending on why the person is surprised. If the person is physically startled, the head moves back and the body may lean back as well. If he or she has just heard some surprising news, the head will tilt forward, as though confirming the news with the speaker.
Sketch the head and add the guidelines.
If the face isn’t looking straight forward, you’ll have to use the method of guessing at one eye length, marking that measurement on a piece of scratch paper, and using it to place the other eye, nose, and mouth.
Use the reference material to determine guidelines for this individual face; it may be an eye’s length down from the bottom of the nose to the bottom of the front teeth, but that measurement will change from face to face, and will vary as the mouth opens more or less.
Give yourself guidelines for the top, bottom, and sides of the mouth and connect those marks to make a box.
Sketch the mouth within the box, starting with the outer shape of the lips, and then moving inward to sketch the bottom of the lips, teeth, and tongue. Draw the teeth initially as one big shape that encompasses all of the individual teeth.
Later on, you can divide the shape beginning with the line between to the two front teeth to make sure they stay centered in the head then lightly sketch in the upper gum line or the bottom line of the teeth.
Keep the lines between the teeth very light, or even invisible, relying on the upper and lower shapes of the teeth to let the viewer fill in the rest. Over-developed teeth look artificial and distract from the rest of the face.
The lines beside the nose need to splay out to show how the muscles are pushing the cheeks up into a smile.
When the features are sketched in lightly, including the ears and the hairline, erase the guidelines and refine the lines as needed.
Add dark tone in the shadow areas and pupils, such as the nostrils, corners of the eyes, corners of the mouth, the back of the open mouth, and the top of the tongue.
You may also want to add some tone or directional lines in the hair to show the color and style.
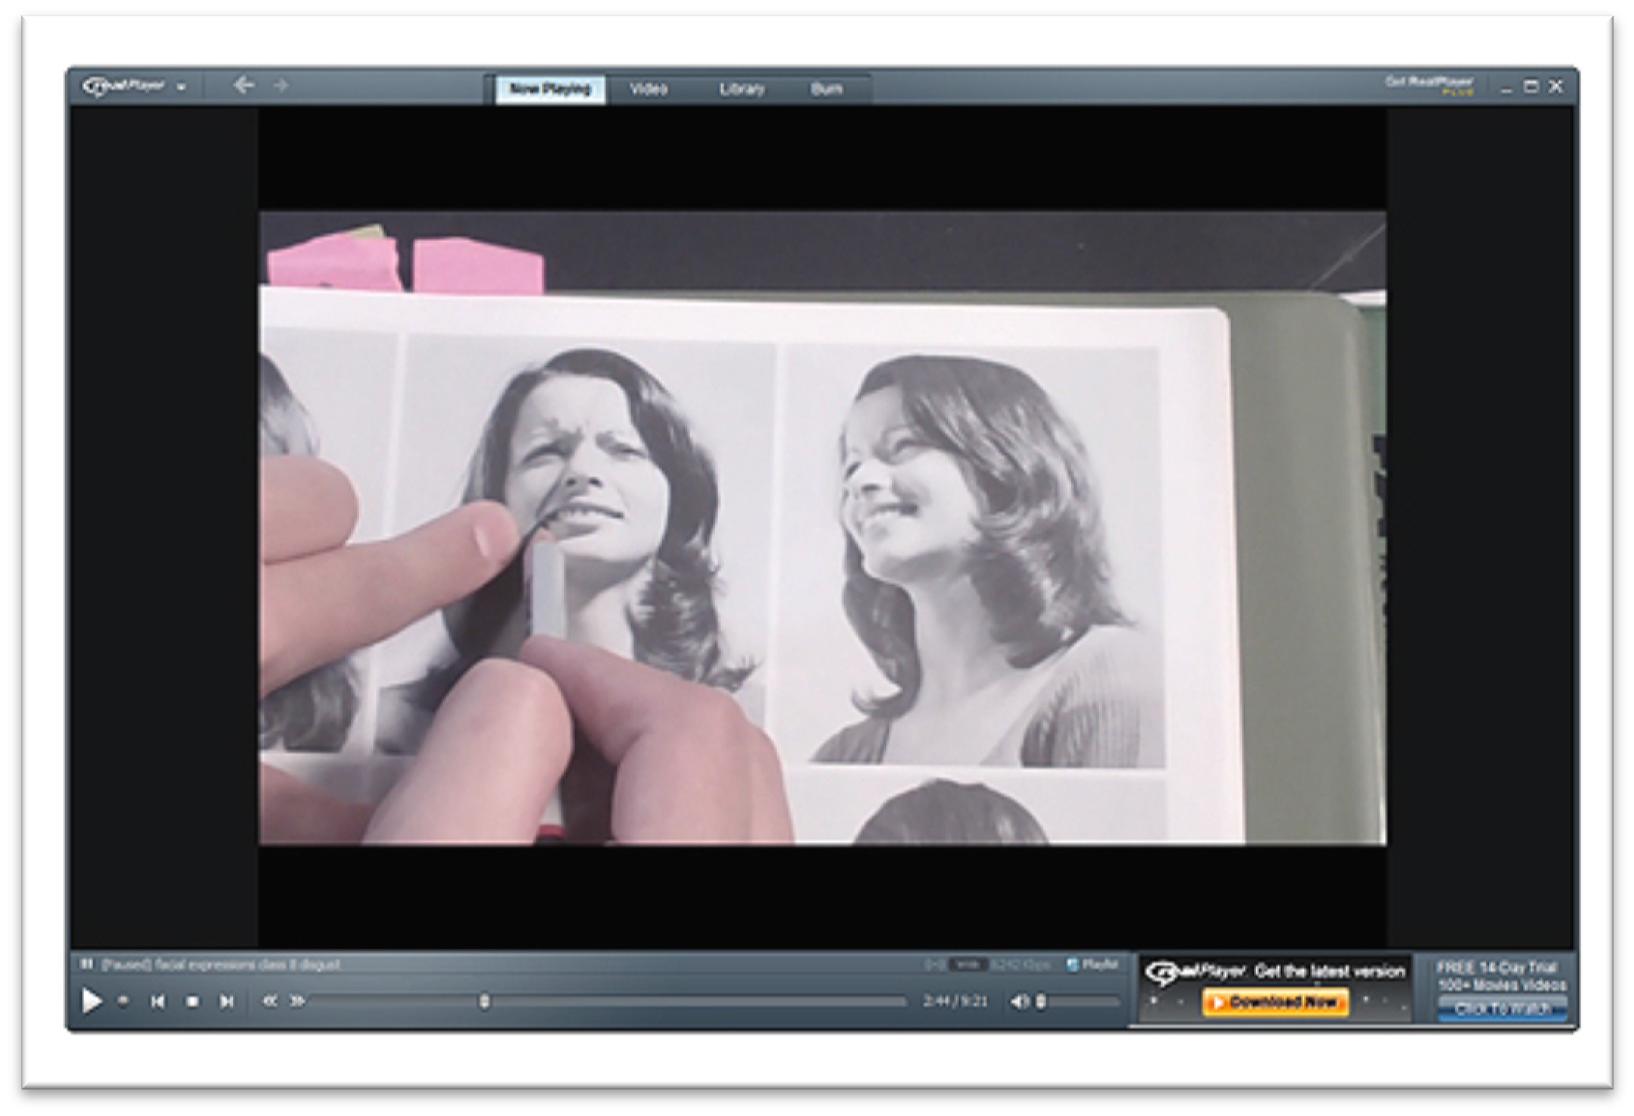
The Disgusted Expression
Disgust is a subtle feature, and so is difficult to capture.
Describe it, and you’ll hear words such as “sad, angry, pitying, upset, disappointed,” so it’s no surprise that traces of all of these show up in the expression.
In a way, it’s similar to a happy smile, because the upper features are compressed together.
The eyes may be squinting, but they’ll be sad. The eyebrows come down in the angry position.
Because it’s a blend of such different features, it’s a perfect candidate for the expression wheel.
Rotate the wheel into as many different versions of disgust as you can find and make cartoons of each until you’re satisfied that you have isolated the crucial elements.
The nose may be a sneer, in which case the line beside the nose and the mouth will echo it; if the left nostril is raised, the left side of the mouth will be as well. The eyes are often squinted, but look more sad than angry. Eyebrows, however, do furrow together in disbelief and anger.
When you sketch the real face in the disgusted position, make sure to develop the head as it tilts back to give some additional realism and life to the character.
When the head tilts back, the eye line appears higher on the head and the chin raises up.
The nostrils are more visible because the nose is tipping back, the jaw line is more squared off than usual and the neck may appear shorter.
The features will have to be placed by using the eye length measuring system instead of dividing the head in half vertically and horizontally and dividing the bottom half into five equal sections.
Sketch in the features according to the eye length. The eyes, squinted, will still have an upper lid visible and the eyebrows furrow close together with lines between the two to show anger.
The mouth corners are pointed down, and the mouth may or may not be open. If the mouth is open, sketch the teeth in as one big shape to begin and then develop, lightly, the individual teeth, beginning with the front two.
Beside the front teeth are smaller eyeteeth, then the pointed cusped teeth, and then the first pair of bicuspids. You won’t be able to see farther back than that in most cases.
When the features are placed, erase the guidelines and clean up the shapes as needed. Add tone in the pupils, remembering to preserve the white paper in the highlight, and add spokes and some lighter tone in the irises.
The nostrils are very dark, as are the corners of the mouth. Because the head is tilted back, you may even want to add some shading on the chin and neck to help clarify that.
Sketch in the hairline and add tone there too if desired; if not, at least add enough directional strokes in the hair to show the direction of the hair growth and the style.
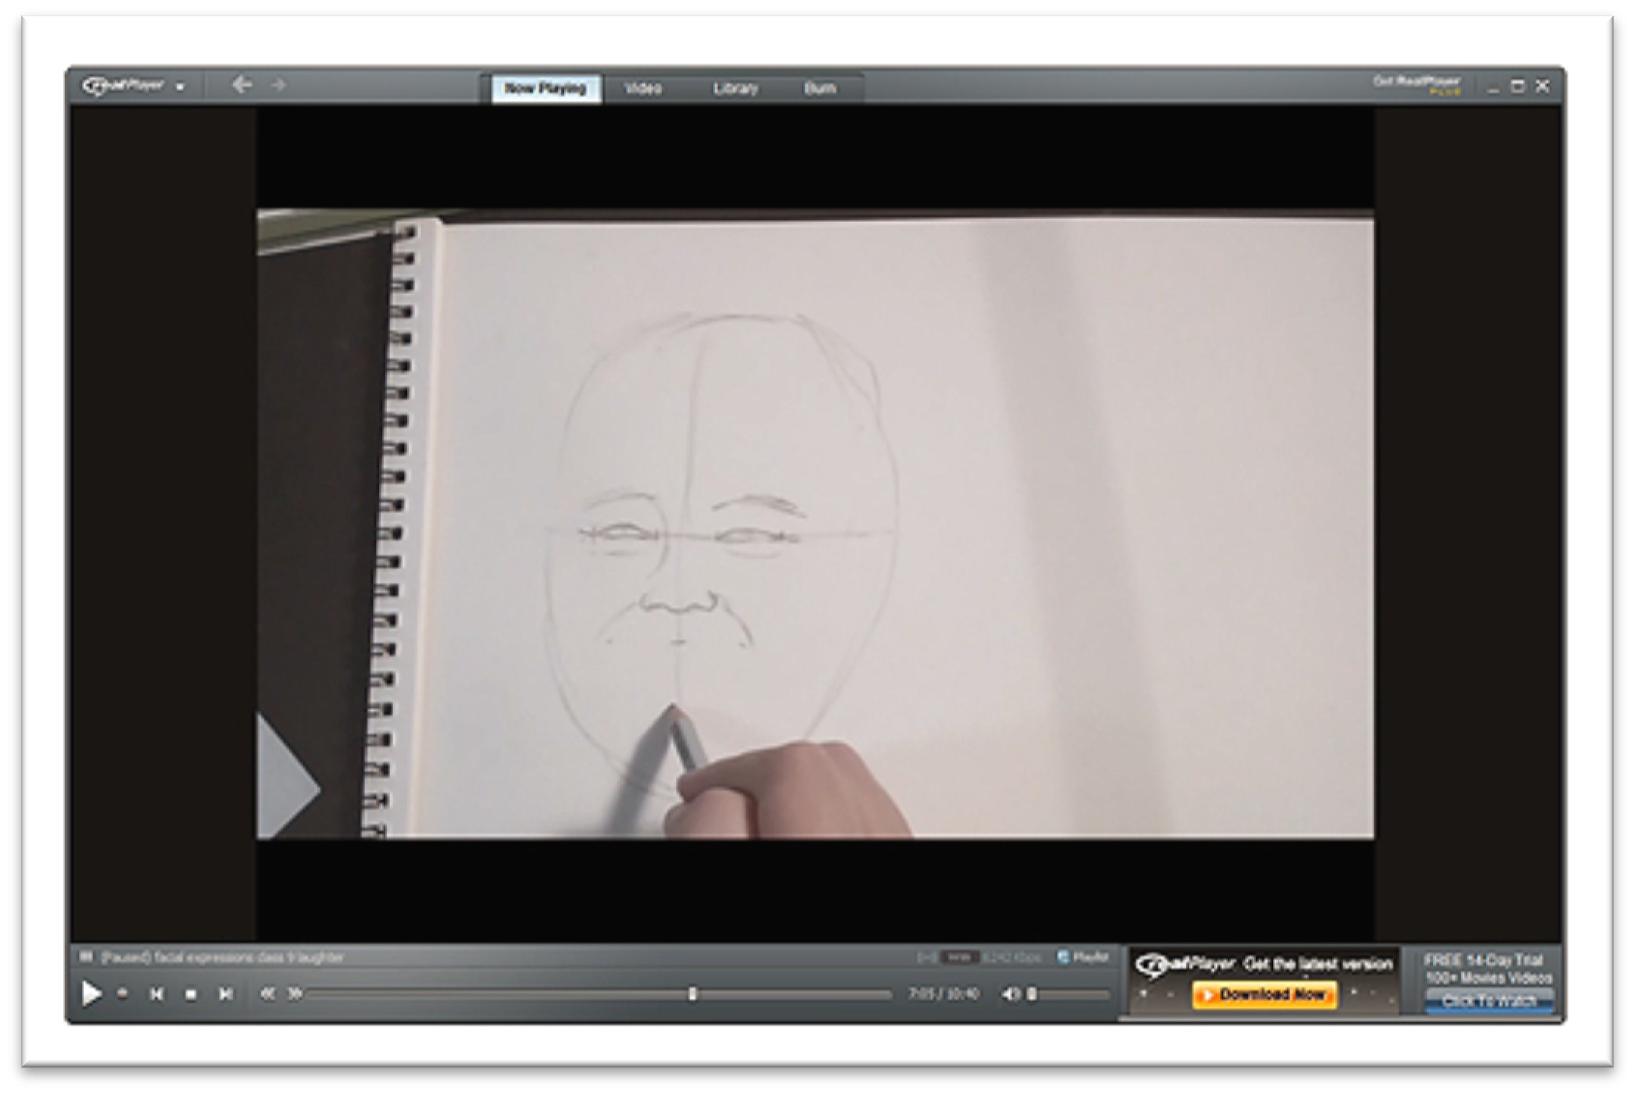
The Laughing Expression
Laughter has many degrees, but the two elements that are always necessary to depicting it are happy mouths that are open. In a genuine, hearty laugh, the head is thrown back.
For quiet chortles, the head tilts forward, and for mild laughter the head may tilt to one side or the other.
The head is never static in a laugh.
Cartoon several versions to see for yourself how changing the tilt of the head changes the feeling of the laughter.
The laughing mouth doesn’t have to look like a half-moon, with corners that come to two definite points. In many mouths, the corners go down in a laugh and then just subtly edge up.
More important than the way the corners point is where the corners meet. If the corners of the mouth are at the center of the mouth or below, the expression usually looks sad or upset.
If the corners are positioned in the upper half of the mouth, the mouth looks happy. Sketch the mouth very carefully, and use a light touch until you’re sure of the shape, or the happy laugh will easily turn into a scream of agony.
No matter how the corners of the mouth look, in a laugh, the muscles of the cheeks lift up to form prominent apples at the cheekbones.
The eyebrows are positioned in the happy, relaxed position, and the eyes are squinted and may show laugh lines in the corners.
If the laugh is even harder, the eyes are closed completely, but form a wave to show that they’re forcibly closed, versus the eye that is closed in sleep or in boredom. The lines beside the nose curve out and around the open mouth.
From the side, the apple of the cheek bulges out and the jaw drops, changing the shape of the head, but otherwise the same elements will be present; happy, arched eyebrows, eyes squinted or shut, and lines by the side of the nose stretched out around the mouth. If the head is tilting, you may not be able to see the far eye from the side view.
When you make a finished drawing of the laughing face, place the features lightly, determining placement by referring to your reference material.
Make the vertical and horizontal guidelines first to make sure the lines of the features are placed consistent with the angle of the head.
As you sketch in the eyes, be aware that it’s easy to make a happy eye look suspicious. In happiness, the skin is primarily pushed up from below, while in suspicion, the eyebrows push down, affecting the upper lid of the eye.
Therefore, to make an eye look happy, don’t forget the puckered skin curving below the eyes.
When the features are placed, erase the guidelines and clean up the lines. Make sure that the eyes are looking in the same direction of the head tilt, or the slyness will come back into the face.
Sketch the teeth lightly, working on the gum line or bottom teeth line more than the lines that divide the teeth.
Add ears and a hairline. When you’re satisfied with the shape of the features, add tone to the pupils and irises, nostrils, and the inside of the mouth.
There will also be shadow on the top of the tongue to help show that the tongue is laying flat in the mouth.
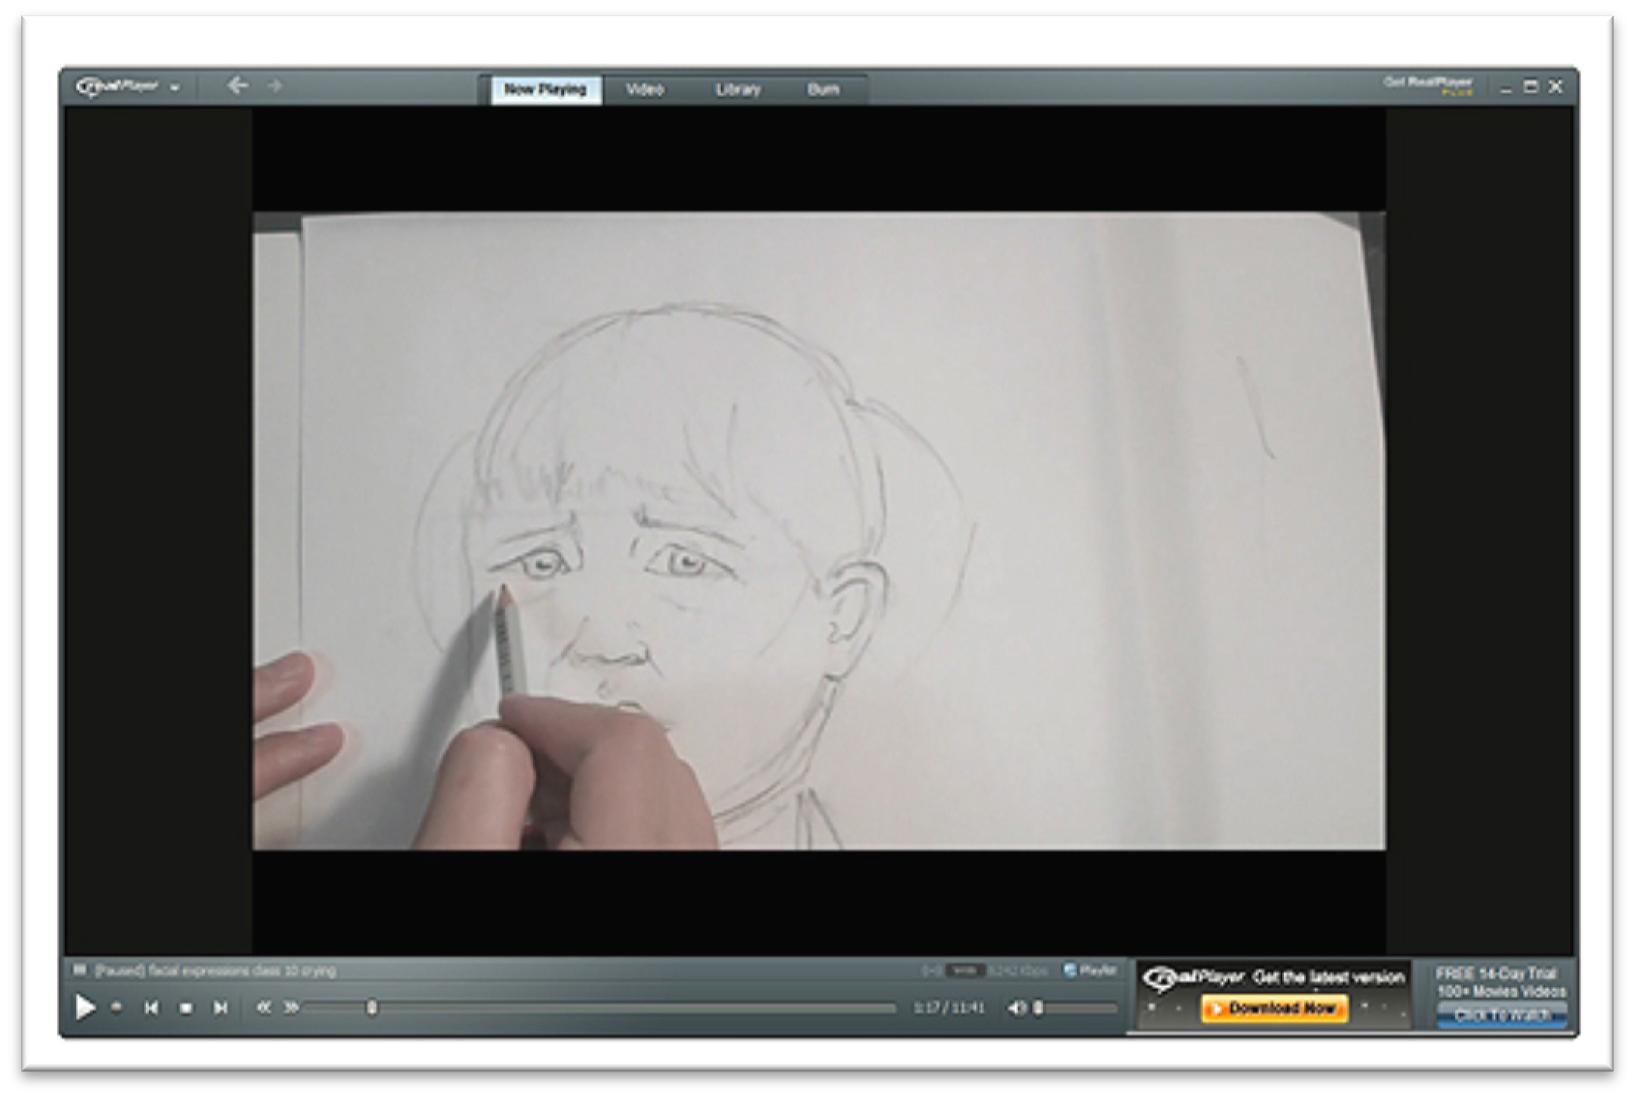
The Crying Expression
Crying is difficult to express because it can easily look like yelling or simple sadness, tears are difficult to draw, and reference material of sincere crying is very hard to come by, except for children.
However, by cartooning children crying or looking like they’re about to cry, you can study how the eyes, eyebrows, nose and mouth are affected and then take those lessons to adult faces as well.
The difference between simple sadness and a face verging on tears is that the features are more violently pulled together.
The eyebrows lower and draw close, eyes start to shut, the nose flexes, and the chin rises and starts to waver.
Otherwise, the individual features of a crying face are still markedly sad; the eyes are angled in the sad position, the eyebrows dip down, the mouth corners are pulled down, and the lines beside the nose leading to the mouth are straight.
Once the person actually starts to cry, the eyes close completely and the features may begin to show anger; for instance, the eyebrows often plunge down at an angry angle causing lines to show up between them, lines appear on either side of the bridge of the nose, and the mouth opens in a wail that can look like an angry yell.
The face will still read as crying if you take out some of the stark indicators of anger and replace them with features that are sadder and less angry.
Change the eyebrows to dip downward as they were in the sad face, lower the upper lip of the mouth and curve the lower lip so that it looks like a loose “W” and the sadness in the face will be prominent instead of anger.
Sketch several cartoons of crying, with some angry faces and some sad crying faces to use as references for your finished drawing.
As usual, begin a finished portrait with the head shape, showing the angle of the head from the very beginning.
The vertical guideline should cross between the two eyes, and horizontally fall right on the center of the eyes.
Sketch in the features from there, beginning with the eyes. If the head is facing front, the eyes are in the center of the horizontal guideline.
If the head is looking left or right, you’ll have to place the eyes by guessing at the eye length of one eye, then placing the remaining features from there.
For each feature, give yourself marks that show where the top, bottom, and sides fall, then sketch the final shape within those guidelines.
For the mouth, be aware that the mouth will appear to be yelling more if the over-all shape is an oval with the top lip pulling up and the bottom lip curving down.
A crying mouth generally looks more like a semicircle, with a fairly flat upper lip and a bottom lip that curves down and may even form a slight wave.
When the features are placed, add tone to the darkest areas, such as the line of the squinted eyes, the nostrils, and the open mouth.
The nose may have some tone on it to show that it’s turning more red with the violence of crying.
 If you wish to download the files to your desktop, simply right click the link below and select ‘save as’
Then select the location you wish to save the files to (either your DESKTOP or MY DOCUMENTS e.t.c.)
Once finished, simply unzip the files (PC use winzip, MAC use stuffit) and your files will be there.
All written material can be opened as a PDF.
All videos files can be opened with VLC Media Player.
Select your download option below …